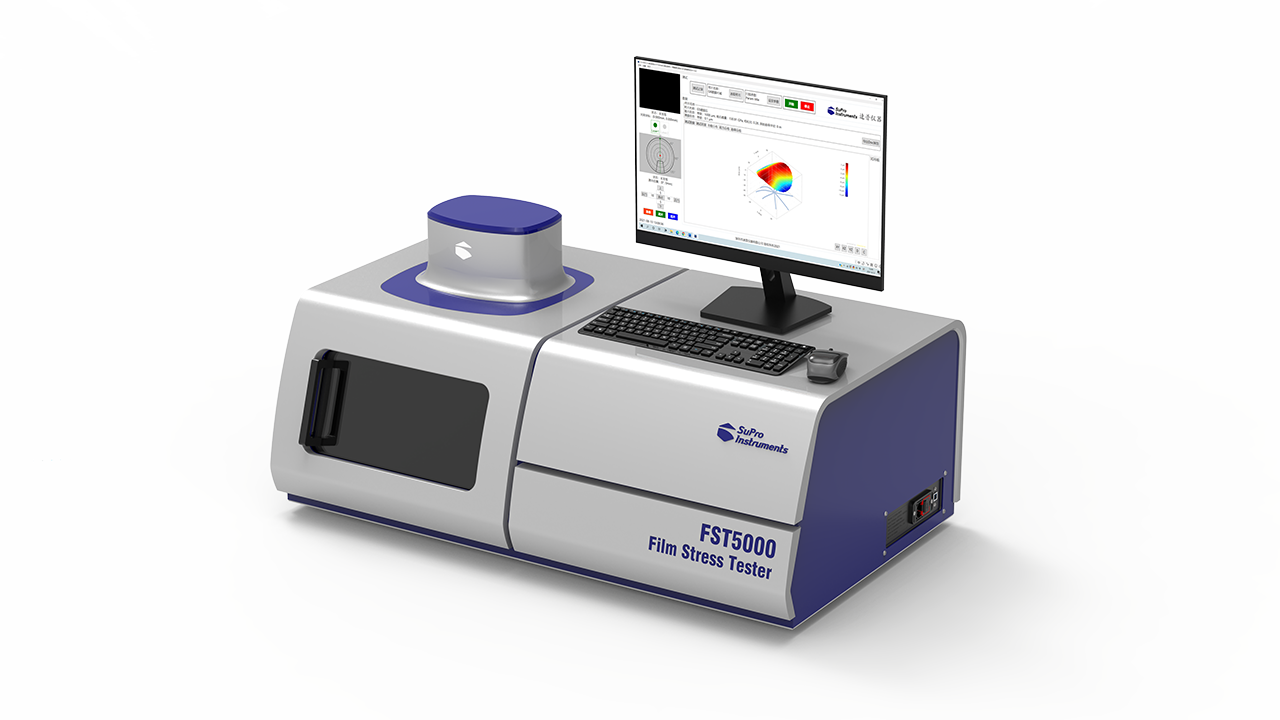
-
SEM Series
-
Semiconductor thin film measurementHard coating measurement


|
Technical Specifications |
Parameters |
|
Basic Principle |
Laser curvature method based on Stoney's formula |
|
Measurement Method |
Utilizes dual-wavelength lasers for sample scanning measurement Wavelengths: 635nm / 670 nm, >5mW |
|
Main Function |
Automatically measures wafer sample contour, sag height, curvature, radius of curvature, and film stress. |
|
Film Stress Testing Range |
1~10000 MPa |
|
ROC Testing Range |
2-20000m |
|
ROC Reproducibility |
<1 % 1σ ( ROC < 20 m) <2.5 % 1σ ( ROC < 200 m) |
|
Minimum Scanning Step |
0.1 mm |
|
Sample Size |
Model M6: Max. 6 inches, downward compatible with 4, 3, 2 inches Model M8: Max. 8 inches, downward compatible with 6, 4, 2 inches Model M12: Max. 12 inches, downward compatible with 8, 6, 4 inches |
|
Sample Stage |
Electrically rotating stage |
|
Sample Substrate Correction |
Capable of correcting raw surface irregularities through data processing (for subtractive mode) |
|
Power Supply |
110-220 VAC & 200 Watts Maximum |
|
Communication Interface |
USB 3.0 |
|
Operating Temperature |
Room temperature |
|
Operating Software: |
Visualizes 2D/3D display of wafer contour, sag height, curvature radius and film stress distribution. Window interface/Compatible with Windows 10 system |
|
Operating Computer |
Standard branded desktop all-in-one: Display: ≥21 inches, ≥8 GB memory, CPU ≥ 2.5 GHz, ≥512 GB hard disk |
|
Dimension |
850mm * 550 mm * 450mm |
|
Weight |
35Kg |
|
Warranty |
One year |
|
Remarks |
The above-listed technical specifications and parameters are subject to up dates without further notice. Contact us if you have any questions. |